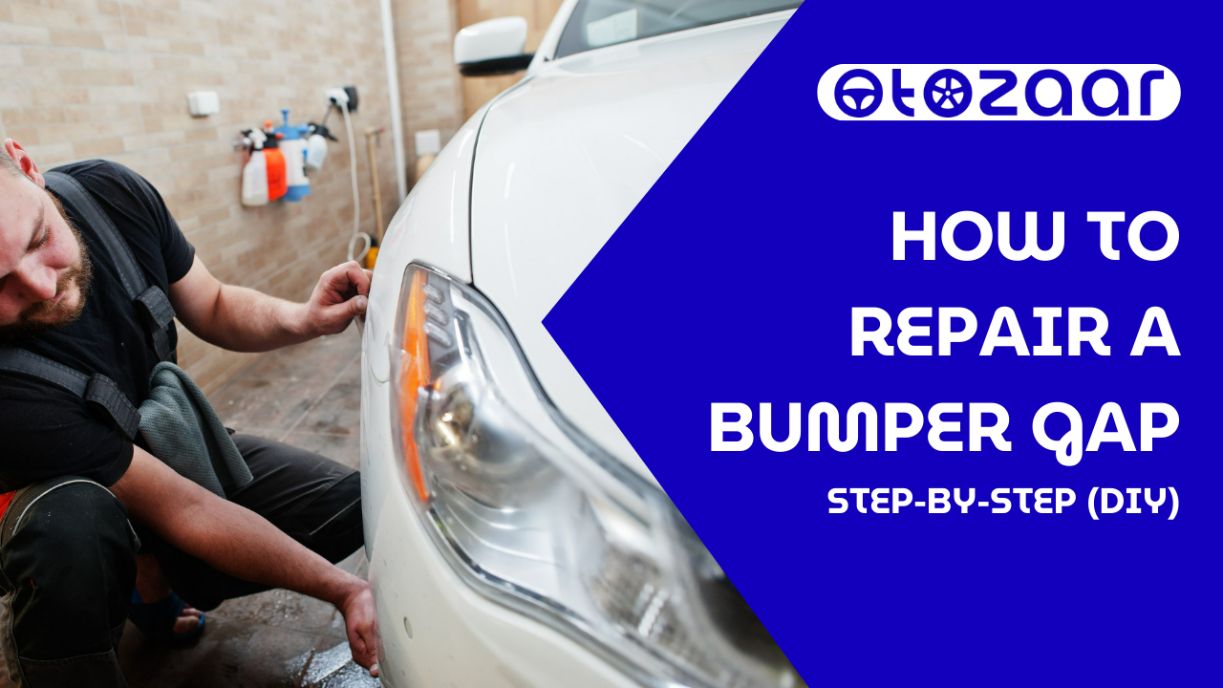
Ever noticed an unsightly gap between your car’s bumper and the adjacent body panels? You’re not alone! A bumper gap can make even the most luxurious vehicle look shabby. But fear not! With a bit of patience and the right approach, you can fix this yourself. In this detailed guide, we’ll walk you through each step to repair a bumper gap, ensuring your car looks as good as new in no time. From identifying the cause to executing the perfect fix, we’ve got you covered.
Understanding Bumper Gaps:
So, what exactly is a bumper gap? Simply put, it’s that annoying space between your bumper and the car’s body. This gap can occur for several reasons, including minor accidents, worn-out mounting hardware, or even poor installation from the get-go. Not only does it affect your car’s sleek appearance, but it can also compromise the structural integrity of the vehicle. Fixing a bumper gap isn’t just about looking good; it’s about keeping your car safe and sound too.
Tools and Materials Needed:
Before diving into the repair process, let’s gather all the necessary tools and materials. Having everything on hand will make the job smoother and faster. Here’s what you’ll need:
Screwdriver Set: Ensure it includes T20 and 8mm sockets. These are essential for removing and tightening various parts of the bumper.
Replacement Clips and Mounting Hardware: If your current ones are broken or worn out, you’ll need new ones to secure the bumper properly.
Strong Adhesive or Epoxy: This can be handy for reinforcing weak spots or ensuring a tight fit.
Zip Ties: Useful for temporary fixes or holding things in place while you work.
Plastic Tab Repair Kit: Perfect for fixing broken clips that often cause the bumper to misalign.
Safety Goggles and Gloves: Always prioritize safety! Protect your eyes and hands from any sharp edges or debris.
Ready to get started? Let’s dive into the step-by-step process to make that bumper gap a thing of the past!
Step-by-Step Repair Process:
1. Assess the Damage
First things first, let’s take a good look at that bumper gap. Carefully inspect the bumper and the surrounding area to pinpoint the root cause of the gap. Check for broken clips, damaged brackets, or any signs of impact that might have caused misalignment. If the gap resulted from an accident, it’s crucial to remove the bumper to examine the damage more closely. This step is all about understanding what you’re dealing with so you can apply the right fix.
2. Remove the Bumper
Now, let’s get that bumper off. Here’s how to do it:
Locate the Screws and Clips: Using your screwdriver set, find and remove the screws that are typically located under the bumper and in the wheel wells. You’ll usually find several screws on each side and at the rear of the bumper.
Detach the Bumper: Gently pull the bumper away from the vehicle. Be cautious and take your time to avoid causing any additional damage. Watch out for any wiring connected to the bumper, like lights or sensors, and disconnect them carefully.
3. Inspect and Repair Mounting Hardware
With the bumper off, it’s time to check the mounting hardware:
- Check for Damaged Clips and Brackets: Look for any broken or bent clips and brackets that are supposed to hold the bumper in place. If you find any damaged parts, replace them with new clips or fix them using a plastic tab repair kit.
- Reinforce Weak Areas: If the brackets aren’t broken but seem weak, reinforce them with epoxy or a strong adhesive. This extra step ensures they provide the necessary support to keep the bumper securely attached.
4. Reattach the Bumper
Finally, let’s put that bumper back on:
- Align the Bumper: Position the bumper back onto the vehicle. Make sure it lines up properly with the body panels to avoid any new gaps.
- Secure the Bumper: Reinsert all the screws and clips you removed earlier. Tighten them adequately to ensure the bumper is firmly in place. Double-check to make sure there are no loose parts, which could cause future gaps.
And there you have it! By following these steps, you can effectively repair a bumper gap and restore your vehicle’s sleek appearance and structural integrity.
Understanding the Ceramic Coating Application Process
Quick Fixes for Minor Gaps
If you’re dealing with a minor bumper gap and need a fast, budget-friendly solution, zip ties can be your best friend. Here’s a simple trick: drill small, discreet holes in both the bumper and the body of the car. Then, use the zip ties to pull the bumper snugly against the vehicle. This method is great for temporary fixes and can keep things looking neat until you have the time or resources for a more permanent solution.
When to Seek Professional Help
Sometimes, the damage might be beyond what you can comfortably handle on your own. If the gap is extensive or if you’re feeling unsure about the repair process, don’t hesitate to seek professional help. An experienced mechanic can ensure the bumper is properly aligned and securely attached, meeting all safety standards. This can save you from potential headaches and additional costs down the line.
Regular Maintenance
Maintaining your vehicle’s bumper isn’t a one-time job. Keep an eye on the bumper and the surrounding areas for any signs of wear or misalignment, especially after minor accidents or bumps. Regular checks can help you catch issues early, preventing minor gaps from turning into major problems.
By following these steps and tips, you can effectively repair a bumper gap, enhancing both the appearance and safety of your vehicle. Remember, safety should always be your top priority. If at any point you feel uncertain about the repair process, it’s always a good idea to consult with a professional. Happy fixing!


